Best Chart.js Canvas Labeling Tools to Buy in June 2026
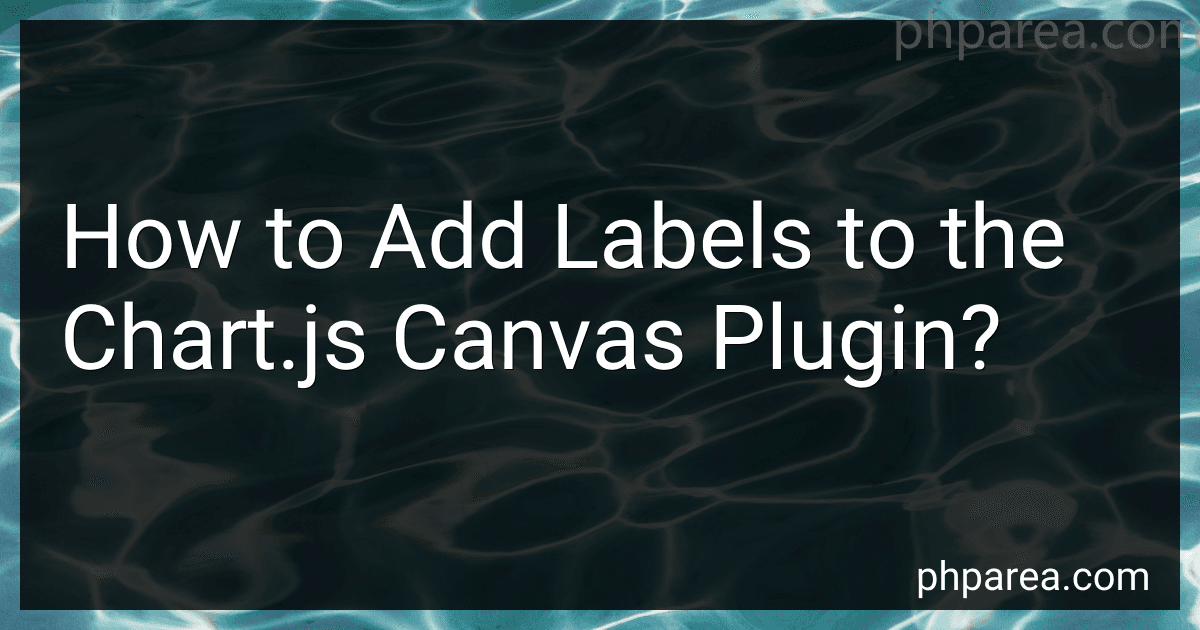
AKAYOK Small Group Management Pocket Chart -40 x 26.5 inch Classroom Jobs Chart - Small Group Organizer and on Task for School Teacher - Versatile Classroom Management Tools Back to School Supplies
- ORGANIZE CLASSROOMS EASILY WITH CUSTOMIZABLE NAME STICKS AND CARDS!
- DURABLE NYLON AND ECO-FRIENDLY PVC ENSURE LONG-LASTING USE AND SAFETY!
- ENGAGE STUDENTS WITH VIBRANT CARDS FOR EFFECTIVE GROUP MANAGEMENT!


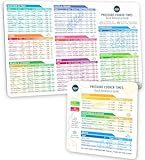
Instant Pot Cooking Times Chart - Pressure Cooker Accessories Cook Times - Easy to Use & Clean Strong Magnet Kilograms - Instant Pot Cheat Sheet Magnet Set Quick Reference Guide (White)
- SAVE TIME WITH 100+ COOKING TIMES & LIQUID RATIOS AT A GLANCE!
- EASY ACCESS: CLEARLY LABELED INGREDIENTS FOR QUICK INFO RETRIEVAL.
- STRONG MAGNETIC BACKING ENSURES IT STICKS EASILY AND LASTS LONG!

Classroom Jobs Pocket Chart - Heavy-Duty Student Responsibility Chart with 14 Pre-Made Job Cards & Magnetic Hooks, Teacher Classroom Management Tool for Preschool to Elementary
- EMPOWER STUDENTS WITH FUN, COLORFUL CLASS JOBS FOR CLASSROOM OWNERSHIP!
- ALL-IN-ONE SET: 45 COLORFUL NAME CARDS & CUSTOMIZABLE JOB CARDS INCLUDED!
- IDEAL SIZE & DESIGN: STURDY POCKET CHART PERFECT FOR CLASSROOM DÉCOR!
Interactive Data Visualization for the Web: An Introduction to Designing with D3
To add labels to the chart.js canvas plugin, you can follow these steps:
- Start by including the necessary Chart.js library in your HTML file. You can either download it or include it via a CDN.
- Create a canvas element within your HTML file where you want the chart to be displayed. You can give it an id for easier reference.
- In your JavaScript file, retrieve the canvas element using the id and store it in a variable.
- Create a new Chart object using the canvas element and the chart type you want (e.g., bar, line, pie). Store it in a variable for further configuration.
- Access the data property of the chart object and specify the values for your labels and datasets. The labels property should be an array containing the labels you want to display for each data point.
- Customize the appearance of your labels by accessing the options property of the chart object. Within the options, you can modify various attributes such as font size, font color, and position.
- Use the update() method on your chart object to reflect any changes you made to the labels or options.
- Finally, load your HTML file in a web browser to see the chart with the added labels.
Remember, these steps are a general outline, and you may need to refer to the official Chart.js documentation for more detailed information on how to add labels specific to your chart type or any advanced configurations you may require.
What are label callbacks in Chart.js?
Label callbacks in Chart.js allow you to define custom functions that will be called to generate labels for the data points in your chart. These callbacks can be used to dynamically generate labels or modify the default labels provided by Chart.js.
By default, Chart.js provides a set of label callbacks that you can use, such as label, index, value, etc. These callbacks can be used in various chart types, such as bar, line, pie, etc., to control the formatting and content of the labels.
However, you can also define your own custom label callbacks by providing a function as a configuration option. This function will be called with two arguments: the first argument is the data object representing the current data point, and the second argument is the chart object itself. Within this callback function, you can manipulate the data object to generate the desired label for the data point.
Here is an example of defining a custom label callback in Chart.js:
options: { scales: { y: { ticks: { callback: function(value, index, values) { // Custom label formatting logic return '$' + value.toFixed(2); } } } } }
In this example, the callback option is used to define a custom function for formatting the y-axis tick labels. The function takes the value, index, and values as arguments, and it returns a string representing the formatted label. In this case, the function adds a dollar sign and rounds the value to two decimal places before returning the label.
Label callbacks provide a flexible way to customize the labels in your Chart.js chart to suit your specific needs.
What is the maximum line height for labels in Chart.js?
The maximum line height for labels in Chart.js is determined by the height of the canvas element the chart is rendered on. By default, this maximum line height is calculated dynamically based on the height of the canvas and the font size of the labels. However, there is an optional configuration option called "maxPadding" that can be used to specify a maximum additional padding for the top and bottom of the chart layout, which can influence the maximum line height.
How to change the tooltip label color in Chart.js?
To change the tooltip label color in Chart.js, you can make use of the callbacks property in the options object of your chart configuration.
Here is an example:
const chart = new Chart(ctx, { type: 'bar', data: data, options: { tooltips: { callbacks: { label: function(tooltipItem, data) { // Change the label color return '' + data.labels[tooltipItem.index] + ': ' + tooltipItem.value + ''; } } } } });
In the above example, the label callback function is used to specify the content of the tooltip label. You can modify the label color by adding inline CSS styles to the label.
In this case, we are changing the label color to red by setting color: red; in the style attribute of the <span> element. You can replace red with any valid CSS color value to achieve the desired label color.
Remember to replace ctx and data with your actual chart context and data objects respectively.
How to change the label font weight in Chart.js?
To change the label font weight in Chart.js, you can use the fontWeight property within the ticks configuration for the specific axis. Here is an example of how to do it:
var chartOptions = { scales: { y: { ticks: { fontWeight: 'bold' // set the font weight to bold } }, x: { ticks: { fontWeight: 'normal' // set the font weight to normal } } } };
var chartData = { // your data here };
var chart = new Chart(ctx, { type: 'bar', data: chartData, options: chartOptions });
In the example above, the fontWeight property is set to 'bold' for the y-axis tick labels and 'normal' for the x-axis tick labels. You can adjust the font weight to suit your needs.
How to align labels in Chart.js?
To align labels in Chart.js, you can use the options provided by the library. Here's how to do it:
- Start by setting up your chart using Chart.js. var ctx = document.getElementById('myChart').getContext('2d'); var myChart = new Chart(ctx, {...});
- Use the "options" object to set the alignment of labels. var options = { scales: { yAxes: [{ ticks: { // Set label alignment to center align: 'center' } }] } }; Replace 'center' with 'start' to align labels to the start or left side of the chart, or 'end' to align them to the end or right side.
- Assign the options to your chart. var myChart = new Chart(ctx, { type: 'bar', data: {...}, options: options });
That's it! Your labels will now be aligned according to the specified option.
How to rotate the labels in Chart.js?
To rotate the labels in Chart.js, you can use the ticks option in the configuration of the respective axis. Here's how you can do it:
- Set ticks inside the options object of your chart, specifying which axis you want to rotate the labels for:
options: { scales: { y: { ticks: { // Rotate the labels here } } } }
- Inside the ticks object, set the callback property as a function to modify the label appearance:
options: { scales: { y: { ticks: { callback: function(value, index, values) { // Rotate the labels here } } } } }
- Use the index parameter to access the current label index and modify its appearance. For example, you can use CSS to rotate the labels using the transform property:
options: { scales: { y: { ticks: { callback: function(value, index, values) { return value; // Return the original label text }, font: { size: 14 // Adjust the size if needed }, padding: 10, // Adjust the padding if needed mirror: true, // This ensures the rotated labels don't overlap with the chart reverse: true, // This will align the labels on the other side of the axis maxRotation: 0, // Prevents labels from being rotated if there's enough space minRotation: 0, // Prevents labels from being rotated if there's enough space callback: function(value, index, values) { if (index % 2 === 0) { // Rotate every other label return ''; // Optional - you can hide specific labels if desired } return value; } } } } }
You can adjust the rotation angle and label appearance as per your requirements. Note that this example rotates the labels on the y-axis, but you can apply similar logic for other axes as well.